Windows Explorer is one of the most used Windows applications and at the same time probably also the least acknowledged productivity tool. You are using Windows Explorer every day to interact with your computer as you access your files and folders. An application you use this much should be customized to your needs. An optimized Windows Explorer will make working with your computer easier, faster, and more enjoyable.
This article shows you how to add custom columns to the Windows Explorer details view. Moreover, the article demonstrates how to activate the Last Access Time Stamp detail, which was deactivated in Windows Vista and Windows 7 to save system resources.
How To Switch to Details View in Windows 7 Explorer
Before I can show you how to add custom columns to Windows Explorer, you need to switch to the Details view, which allows you to see these columns.
- In any given folder click View in the toolbar.
- Select Details.

How To Add Columns to Windows Explorer Details View
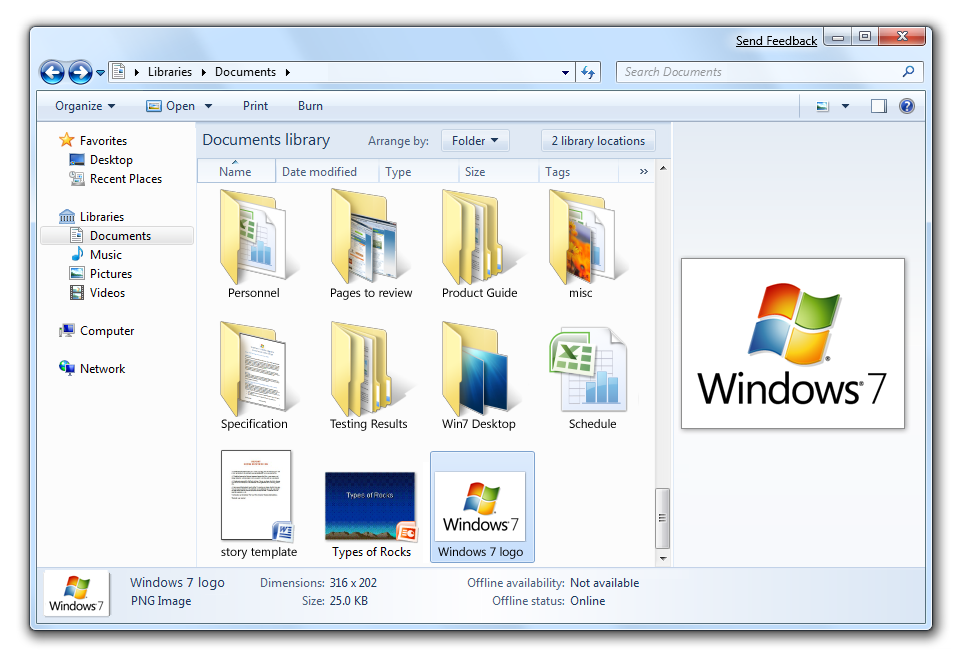
In Details view you will see different columns, depending on the type of folder you are in. The screenshot below shows examples from Windows 7 libraries and a regular folder at the bottom.

As you see, there are various columns options. You can customize the Details view by adding and removing columns, changing their default size, and moving them around.
Add/Remove Columns:
- In the toolbar click View.
- Select Choose details… from the menu.

- In the Choose Details window check and un-check details, depending on what you would like to see.

Change Default Column Size:
- In the Choose Details window, change Width of selected column (in pixels) in the bottom right.
Move Columns:
- In the Choose Details window, move selected details up and down into the preferred order, using the Move Up / Move Down buttons in the top right.
- Alternatively, you can go directly to the respective folder and drag&drop columns into position.
How To Add Last Access Time Stamp Column
The Last Access Time Stamp detail was deactivated in Windows Vista to save system resources and remains disabled in Windows 7. If your system isn’t short on resources and if you want to keep an overview of when your files have last been edited, you should reactivate this column and add it to your Details view.
- Open the Start menu and type cmd in the search field.
- Right click on the Programs result cmd.exe and select Run as administrator.
- When asked whether you want to allow the program to make changes to your computer, select Yes.

- Type fsutil behavior set disablelastaccess 0 into the command prompt and clickEnter.
- If you ever want to reverse this change, type fsutil behavior set disablelastaccess 1 instead.

- Reboot your computer for the changes to take affect.
- Better yet, use one of my 3 Advanced Tips & Tricks For Using Windows Explorerto merely restart Windows Explorer.
In the Choose Details window, this option is listed as Date accessed.

You will also see it in file properties.

Via: Make Use Of